From your recently added content page, click Edit.
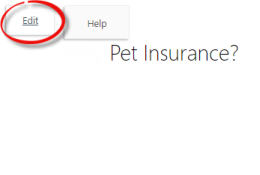
The page displays in edit mode.
Enter a short description for the page in the header text area. The following styling options are available:
From your recently added content page, click Edit.

The page displays in edit mode.
Enter a short description for the page in the header text area. The following styling options are available:
|
Bulleted list |
|
Numbered list |
|
Make
text bold, italics or underline. |
|
Link to an external site. Note: You must highlight the text you want to link and then click the icon. |
|
Link to content in the library. Note: You must highlight the text you want to link and then click the icon. |
|
Create
an email address link. |
Add an image.
Click Add Image.
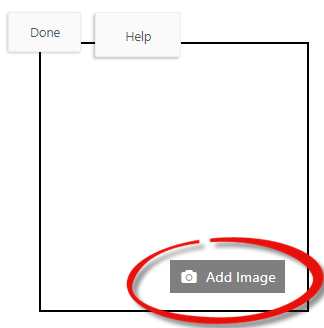
The content library displays. You can upload an image or navigate
to an existing image. Best image size is 160x160.
Check the box to select the image.
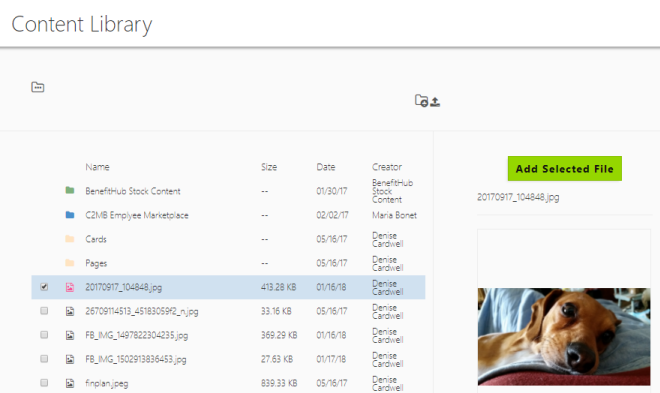
Click Add Selected
File. The image is added to the page.
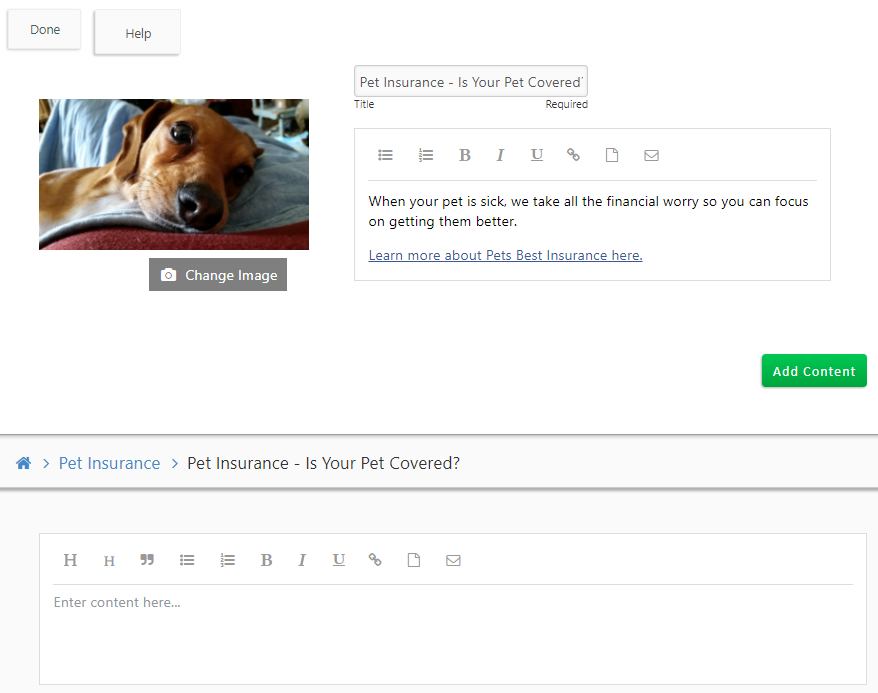
Add content by entering and styling text in the rich text editor
that displays below the page header.
You have the same styling
options as in the short description text box.
When adding a link, you must highlight the text you want to
link and then click the icon. For external and email address links,
the link prompt displays.

Enter the URL or email address. When entering the URL, you need to enter the full URL; for example: http://myurl.com.
Click the check to save or click the X to cancel.
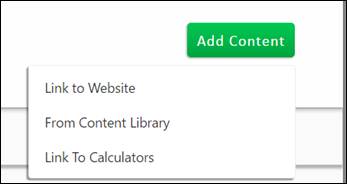
You can also click the Add Content button to add a link to a website, to content in the library or to the calculators page.
Let’s link to a website.
Click Add Content
| Link to Website.
The Add Link prompt displays.
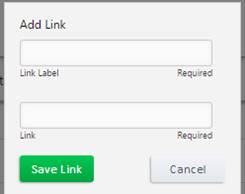
Enter the Link Label -- this is the text that displays on the page.
Enter the Link
– this is the url to the website.
Click Save Link.
The links displays on the page under the Useful Links heading.
Note:
To delete a link, click the X.
Once you have added content, you can click Preview to see how the content added displays to users when active. Click Edit if you want to add more content.
Click Save when finished adding content.