As part of the communications features on the Admin dashboard, you can create notifications that display to the user on the site and the notification can also include an email that is sent to all users of the site.
Notifications are a method of communication with users of your BenefitHub site – providing Admins with a way to send short messages about upcoming events, special deals, or important news. A notification can display with a severity level of High, Medium or Low. You can also set the start and end date for when the notification displays.
Notifications display to the user in a highlighted box at the top of each page. Color indicates severity with red for high, yellow for medium and blue for low.
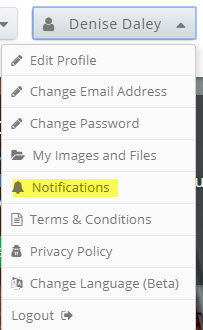
Once read, the user can click on the X in the right corner to remove the notification from displaying at the top of the site; however, the user can still view all available notifications by selecting the Notifications option that displays in the user account drop-down.

When needed, as you create the notification, you can also send a one-time email to all site users. The email indicates to users that a notification is available in BenefitHub and includes a link to the site.
From Admin | Communications | Notifications, you can:
Add a Notification
Edit a Notification
Delete a Notification
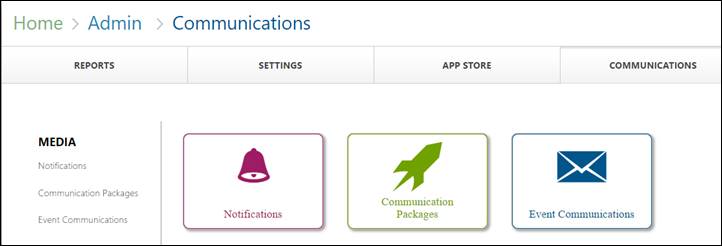
Select Admin | Communications.

Click on Notifications.
The Notifications card displays.

Click Edit. The
card displays in edit mode.
You can change the title and the Add Notification button is available at right.
Select Add Notification
| New Notification.
The Add Notification section displays.
Select the Severity level. Choose from High, Medium, and Low.
Enter the notification content using the rich text editor.
You can format the text using the styling options including:
Bulleted list |
|
Numbered list |
|
Make text bold, italics or underline |
|
Link to an external site |
|
Link to content in the library |
|
Create an email address link. |
If you want to display the notification
for a set time and then have it expire, check Should
Expire?
The date field displays.
Click on the down arrow and the calendar displays.
Select the start and end date to have the notification run for a date range or you can select a single day if desired.
If you want to send a one-time email for this notification,
check Send Email Notification?
The Title field displays.
Enter the email title. The title is required.
Click Save. The notification is saved and displays based on the selected date range. If selected, an email is sent to all users of your site. The email includes the designated title, a subject line indicating a notification is available and a link to the site.
You can edit an existing notification to change the content, dates and severity.
1. From the Notifications card, click Edit. The card displays in edit mode.
Existing notifications display with a pencil and trash can icon in the upper right.
Edits the notification. |
Deletes the notification. |
2. For
the notification you want to edit, click
.
You can:
· Edit the Severity
· Edit the content using the rich text editor options
· Add or edit a start and end date.
3. Click Save. Edits to the notification are saved.
You can delete an existing notification.
1. From the Notifications card, click Edit. The card displays in edit mode.
2. For
the notification you want to delete, click . A confirmation message displays.
3. Click Confirm. The notification is deleted.